跳至内容
UN CANDLE
  • 首页
  • 产品
    • 造型蜡烛
    • 室内蜡烛
    • 户外蜡烛
    • 节日蜡烛
    • LED 蜡烛
    • 配件
    • 点缀
  • 关于我们
    • FAQ
  • 博客
  • 联系方式
en 联合国▼
ar 阿拉伯语zh-CN 中文( 简化)nl 荷兰语Nameen 联合国fr 法语de 德语it 意大利语Namept 葡萄牙语ru 俄罗斯联邦es 西班牙语
UN CANDLE
  • 首页
  • 产品
    • 造型蜡烛
    • 室内蜡烛
    • 户外蜡烛
    • 节日蜡烛
    • LED 蜡烛
    • 配件
    • 点缀
  • 关于我们
    • FAQ
  • 博客
  • 联系方式

DIY 蜡烛制作

首页 / 未分类 / DIY Candle Making
  • 兹兹
  • 16 9 月, 2023
  • 12:56 上午
  • 无评论
UN CANDLE
  Step 1: First prepair a working area. Unless you have a dedicated wax storage location, you should lay newspapers, wax paper, towels, and rags on the floor of the work area. Also prepare some warm soapy water to clean up immediately when the wax overflows.
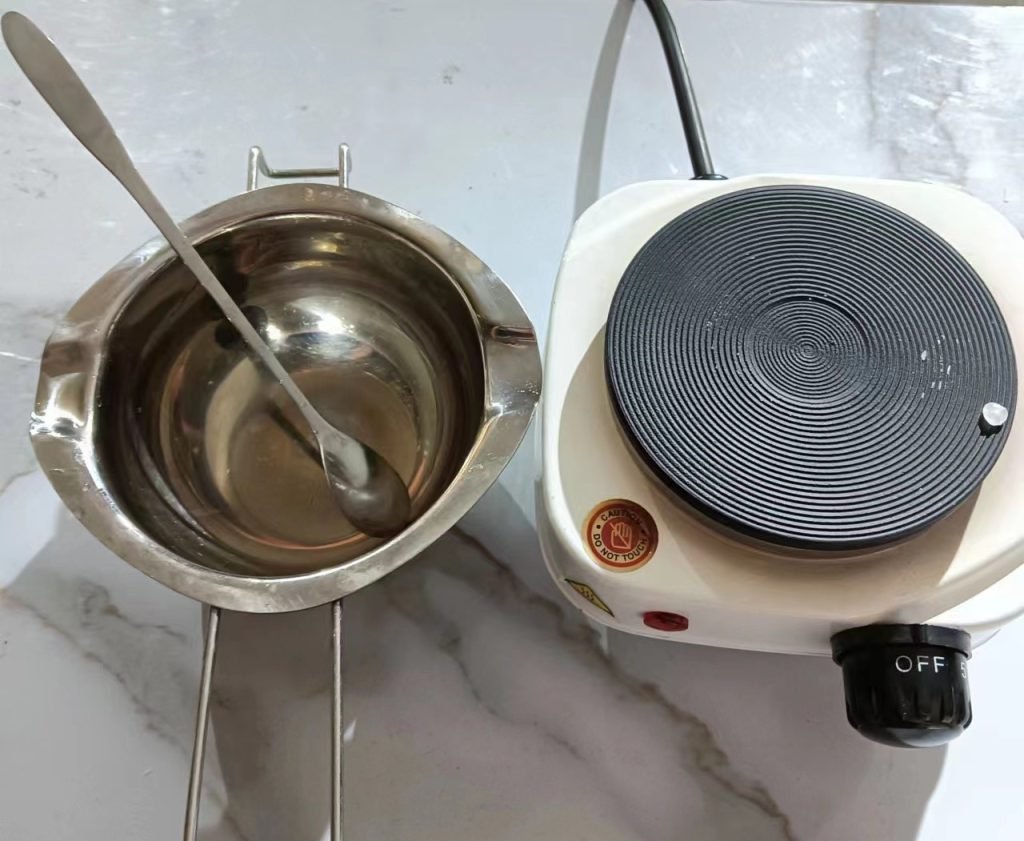
  Step 2: Place a boiling pot in place, just like when cooking. You cannot directly place wax on a heat source. It must slowly melt, otherwise it can easily catch fire or evaporate. Fill a large pot or kettle with half full water, and place the small pot or kettle on top of the large pot. You will melt wax in a small pot. Remember that wax is difficult to clean, so you can purchase a cheap and safe heat transfer pot as a special pot for making candles.
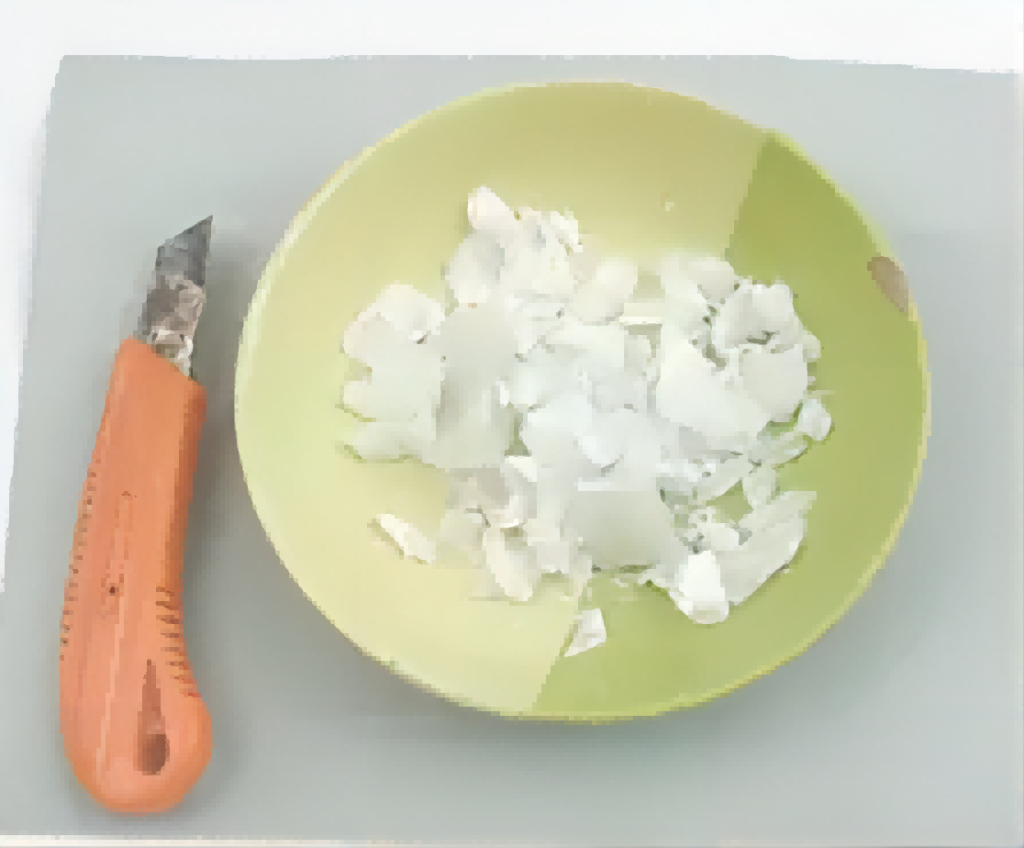
  Step 3: Cut the wax into small pieces or plane it into pieces. The smaller the wax block, the better it melts, and you can also ensure that the wax melts at a consistent rate.
  Step 4: Put the wax fragments into a smaller pot. Adjust the temperature of the heater to 120 degrees melt the wax. When melting, you should keep stiring wax in pot let it melt quickly.
UN CANDLE
UN CANDLE
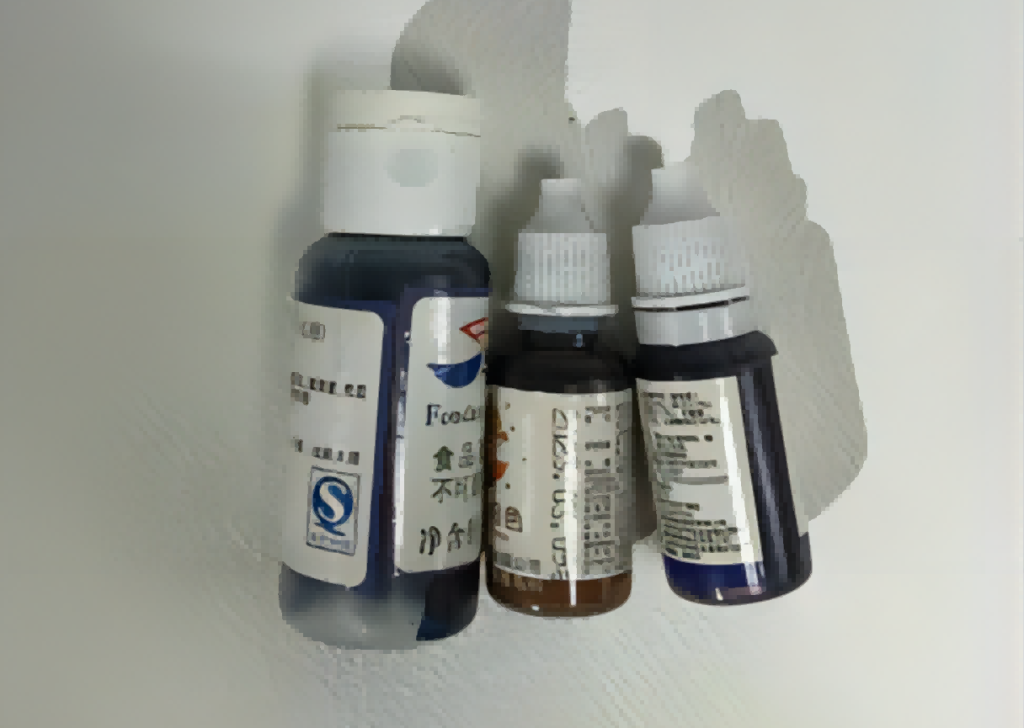
  Step 5: Add color and essence oil. Ordinary food pigments cannot be used for candles because they are water-based. You can purchase oily dyes at a handicraft shop. Usually you can find dyes specifically for candles. Only by placing the correct amount according to the instructions on the bottle can specific colors be obtained. Add a few drops of dye until the wax reaches the desired color. Ensure uniform mixing.
  Step 6: Place the candle wick in the middle of the candle mold. Prepare the mold. You can use jars, glass bottles, old tea cups, or any container that can be heated. Metal cans are the safest, but as long as you are sure that the container can withstand heat, you can use any container you like. Place them on a flat surface (separated by baking boards or cutting boards as protective measures). The candle core should be in the middle of the candle mold and ensure that a 5-centimeter long candle wick is retained outside the candle. You can use double-sided adhesive to stick the candle wick to the bottom of the jar. To fix the candle wick, circle the candle wick that is scheduled to be outside the candle around the center of a pen or pencil. Place the pen horizontally on the mold. Ensure that the candle wick is hung straight in the center of the mold.
  Step 7: Pour the melted wax into the mold. Slowly pour to prevent overflow. Ensure that the candle wick is not accidentally removed from the mold. You can decide how much wax to pour on your own. When pouring beeswax, remember that it will sink slightly after cooling.
  Step 8: Allow the wax to cool. If possible, it’s best to let them cool for 24 hours. The longer the cooling time, the better the finished candle.

兹兹

Wuxi Union Co., Ltd , established in 2006, is a professional exporter for household cleaning products, candles, fragrance products, mainly exported to US, EUROPE and JAPAN market. We have a long-term business cooperation with LIDL,ALDI
脸书
微博
链接
前一頁最后一个贝斯瓦克斯,帕拉芬,和大豆蜡的特征
下一个挥舞火焰的LED蜡烛下一个
UN CANDLE

中国专业蜡烛制造商,自定义样本可用.

产品

  • 造型蜡烛
  • 室内蜡烛
  • 户外蜡烛
  • 节日蜡烛
  • 配件
  • LED 蜡烛
  • 香氛

联系方式

  • +86 158 6157 7998
  • wxun-8@wx-un.com
  • +86 180 0152 7186

关注我们

脸书 (原始内容存档于2017-09-21). Youtube 链接 内存

© 2026 UN CANDLE. All rights reserved.

滚动到顶端